

What are the installation tools required for Rising Mains Bus Duct?
Jan 09, 2026
Leave a message
Hey there! As a supplier of Rising Mains Bus Duct, I often get asked about the installation tools required for these systems. In this blog post, I'm gonna break down the essential tools you'll need to get the job done right.
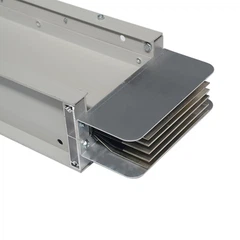
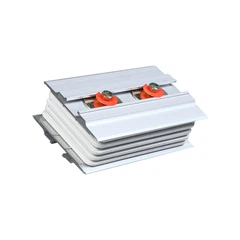
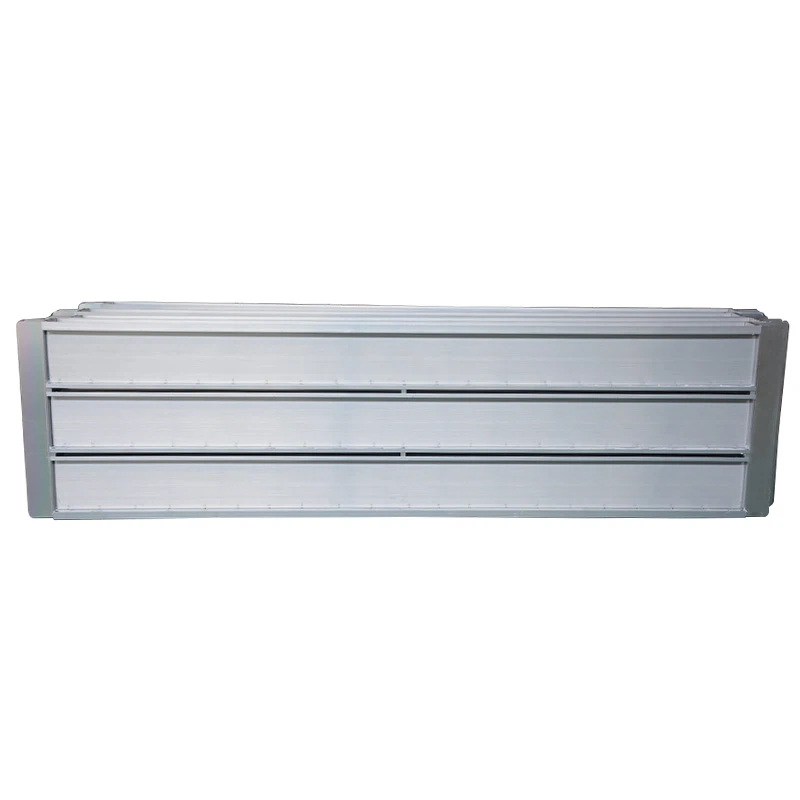
First off, let's talk about what Rising Mains Bus Duct is. It's a crucial component in electrical distribution systems, used to carry electrical power from one level to another in a building. Whether it's a commercial high - rise or an industrial complex, Rising Mains Bus Duct plays a vital role in ensuring a safe and efficient power supply.
Measuring Tools
Accurate measurements are the foundation of a successful installation. You'll need a good quality tape measure. A retractable tape measure with a length of at least 25 feet is ideal. This will allow you to measure the length of the bus duct runs, the distance between support points, and the height for proper alignment. It's important to measure twice and cut once, as any errors in measurement can lead to major issues during installation.
Another essential measuring tool is a level. A spirit level, either a bubble level or a laser level, helps you ensure that the bus duct is installed perfectly horizontally or vertically. This is crucial for proper electrical performance and to prevent stress on the joints. If the bus duct isn't level, it can cause uneven distribution of electrical current and may even lead to premature failure of the system.
Cutting Tools
When it comes to cutting the bus duct, you have a few options. For mild steel enclosures, a hacksaw can be used for small - scale cutting. However, for larger projects or for cutting through tougher materials, a power saw is a better choice. A circular saw with a metal - cutting blade can make quick work of cutting the bus duct to the required length. Make sure to wear appropriate safety gear, like safety glasses and gloves, when using cutting tools.
If you need to make more precise cuts, a plasma cutter can be a great option. Plasma cutters use a high - velocity jet of ionized gas to cut through metal. They offer clean and accurate cuts, which is especially important when you're dealing with the precise dimensions required for bus duct installation.
Drilling Tools
Drilling holes in the bus duct and its support structures is often necessary for mounting and connecting components. A drill is a must - have tool. For light - duty drilling, a cordless drill can be convenient. It allows you to move around freely without being restricted by a power cord. However, for heavy - duty drilling in thick metal, a corded drill may be more powerful and reliable.
You'll also need a set of drill bits. Different sizes of drill bits are required depending on the size of the bolts and screws you'll be using for installation. Make sure to use the correct drill bit size to ensure a proper fit and to prevent damage to the bus duct.
Welding Tools
In some cases, welding may be required to join sections of the bus duct or to attach support brackets. A MIG (Metal Inert Gas) welder or a TIG (Tungsten Inert Gas) welder can be used for this purpose. MIG welding is generally faster and easier to learn, making it a popular choice for many installers. TIG welding, on the other hand, offers more precise control and is better suited for high - quality welds.
Welding requires proper training and safety precautions. You'll need to wear a welding helmet, gloves, and a welding jacket to protect yourself from the intense heat and sparks. Additionally, make sure to work in a well - ventilated area to avoid inhaling harmful fumes.

Assembly Tools
To assemble the bus duct sections, you'll need a variety of hand tools. Screwdrivers are essential for tightening screws and bolts. A set of Phillips and flat - head screwdrivers in different sizes will cover most of your needs. For larger bolts, a socket wrench set is a must. Socket wrenches come in different sizes and can be used with a ratchet for easy tightening and loosening.
A torque wrench is also an important tool for assembly. It allows you to tighten bolts to the correct torque specification. Over - tightening or under - tightening bolts can lead to problems such as loose connections, which can cause electrical arcing and overheating.
Testing Tools
Once the installation is complete, it's crucial to test the bus duct system to ensure it's working properly. A multimeter is a basic but essential testing tool. It can be used to measure voltage, current, and resistance. By checking these parameters, you can verify that the electrical connections are correct and that the bus duct is carrying the expected amount of current.
A megger is another important testing tool. It's used to measure the insulation resistance of the bus duct. Good insulation is essential to prevent electrical leakage and short circuits. A low insulation resistance reading can indicate a problem with the insulation, which needs to be addressed before the system is put into operation.
Specialized Tools
There are also some specialized tools that are specific to bus duct installation. For example, a busbar bending tool is used to bend the busbars to the required shape. Busbars are the conductive bars inside the bus duct that carry the electrical current. Bending them accurately is important for proper electrical performance and to ensure a good fit within the enclosure.
A busbar punching tool is used to create holes in the busbars for connections. These tools are designed to make clean and precise holes, which is crucial for maintaining the integrity of the busbars.
Now, let's talk about some of the products related to Rising Mains Bus Duct. If you're looking for high - current solutions, you might be interested in High Current Busbar. It's designed to handle large amounts of electrical current efficiently. For feeder applications, Feeder Bus Duct is a great option. It provides a reliable way to distribute power from a main source to various sub - circuits. And if you need to change the direction of the bus duct vertically, Busway Vertical Elbow can be a useful component.
In conclusion, installing Rising Mains Bus Duct requires a combination of basic and specialized tools. Having the right tools and using them correctly is essential for a successful installation. If you're in the market for Rising Mains Bus Duct or any of the related products, I encourage you to reach out for a procurement discussion. We can work together to find the best solutions for your specific needs.
References
- Electrical Installation Handbook by Schneider Electric
- National Electrical Code (NEC)
- Bus Duct Installation Manuals from various manufacturers
Send Inquiry